


No credit card required • Instant activation
Kodi, a publicly available media player, operates as a costless platform for digital media organizations. This software facilitates media playback and transmission across diverse devices, enabling seamless connectivity from a central hub to peripheral gadgets. X boasts compatibility with a plethora of operating systems including Android, Microsoft Windows, Linux, iOS, in addition to an array of devices such as Amazon FireTV, Smartphones, Apple TV, Xbox, and PC.
How to bring IPTV channels to Kodi
The installation of Kodi is remarkably straightforward. Simply acquire the Kodi software, initiate the setup wizard by executing a double-click on the Kodi icon, and proceed through the installation process. It’s as effortless as that! Once Kodi is successfully installed, a plethora of add-ons can be accessed to enhance the user experience.
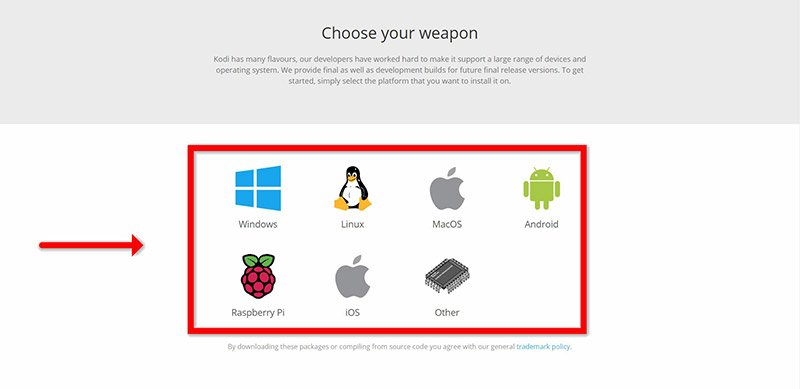
Step 1: Commence by acquiring the appropriate Kodi version for your operating system from the official website:
For the purpose of this guide, we will focus on the “Windows” operating system.
*Kindly note that while the instructions provided here pertain to setting up IPTV on Kodi for Windows, the installation process remains largely consistent across all operating systems.
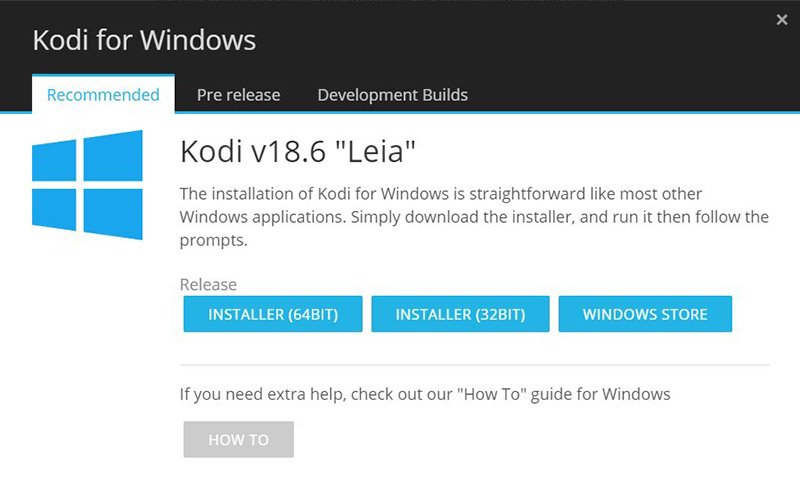
Step 2: Select 64 Bit or 32 Bit based on your operating system.
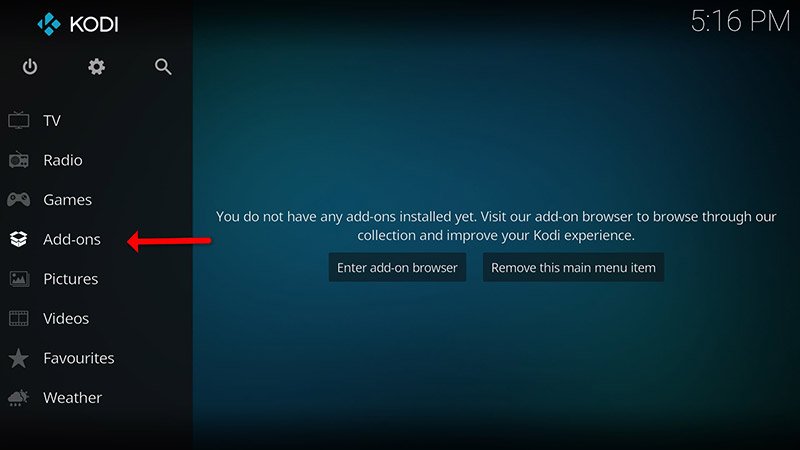
Step 3: After install and open it, click on “Add-ons“.
What is Kodi Add-on?
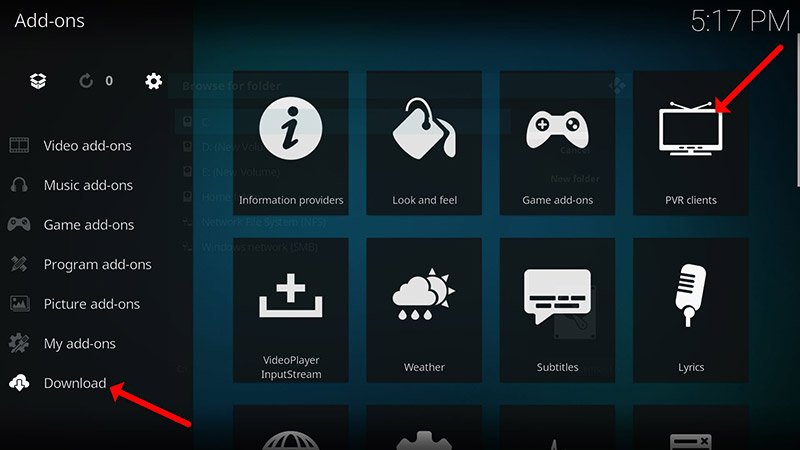
Step 4: Now click on “Download” then select “PVR clients“.
Note: In this tutorial, we will proceed to download and install the PVR add-on. Once installed, there is no necessity to revisit the “Download” section. The installed add-ons can be located under “My add-ons.”
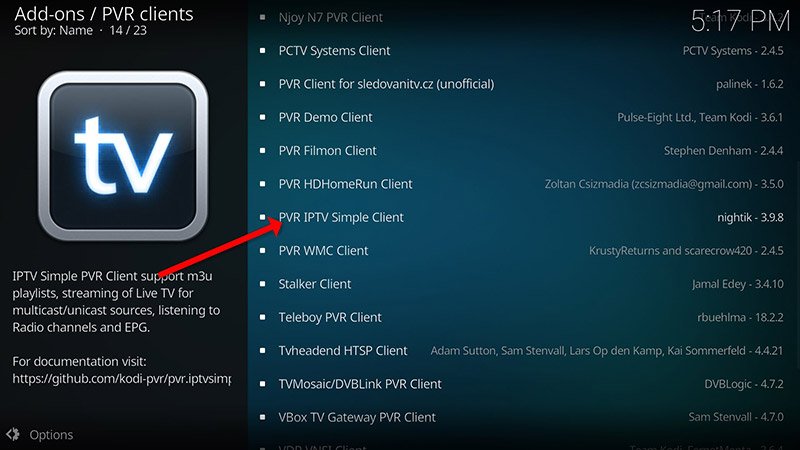
Step 5: Select “PVR IPTV Simple Client“.
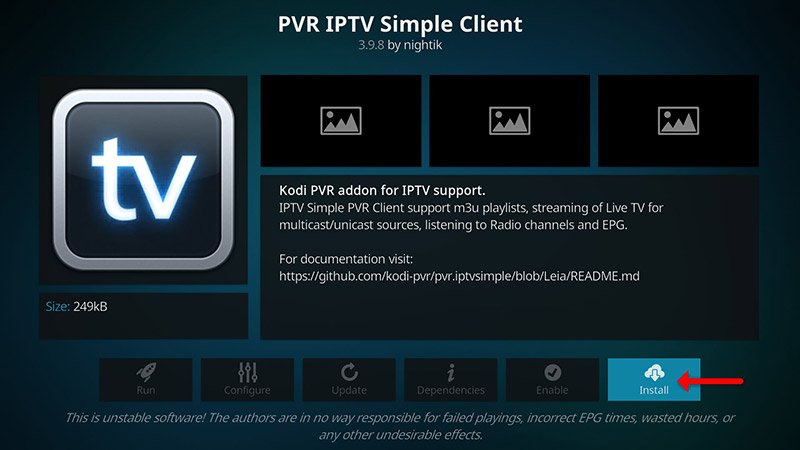
Step 6: Now click on “Install“.
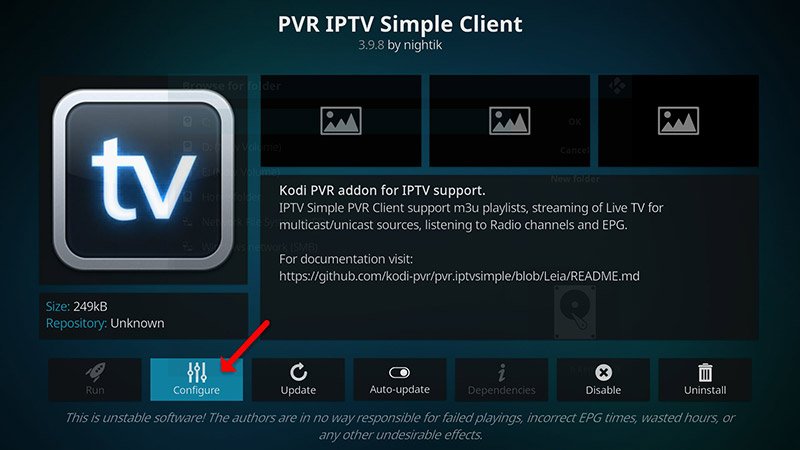
Step 7: After installing “PVR IPTV Simple Client” head back to “My add-ons” then “PVR Clients” and run the add-on.
Now click on “Configure“
Step 8: Now select “M3U Play ListURL”.
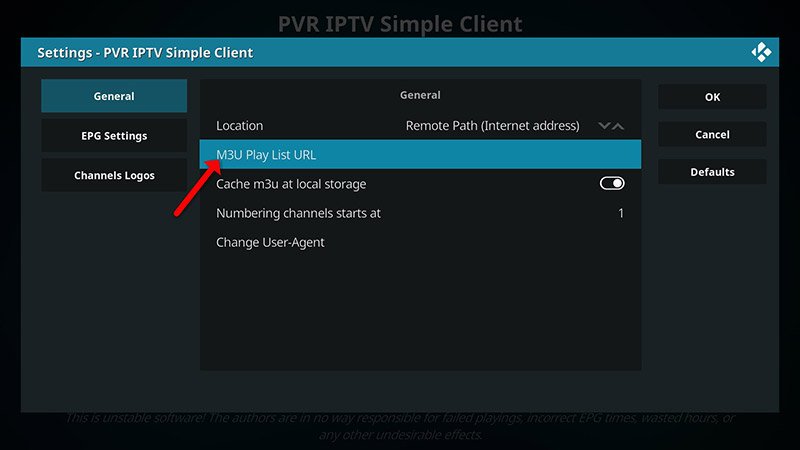
Step 9: Enter the M3U URL provided by your IPTV distributor and click “OK“.
Note: The progressive IPTV providers give you a dashboard which you can generate your M3U url in dashboard.
How to add EPG
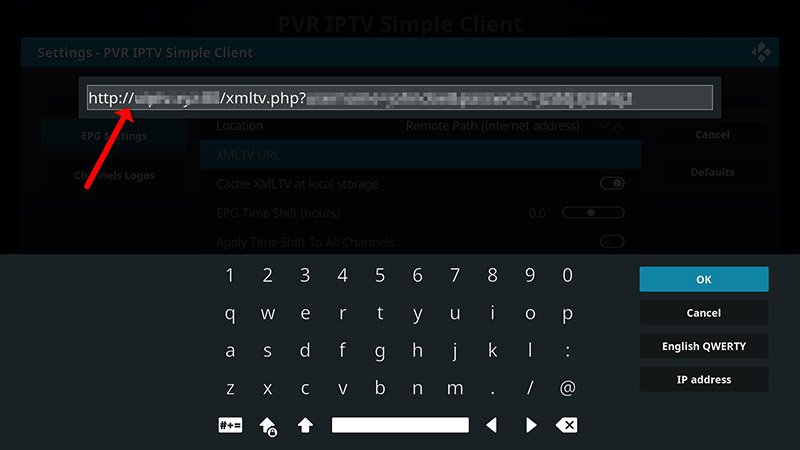
Step 10: Now go to “EPG Settings” and click on “XMLTV URL” for EPG. What is EPG?
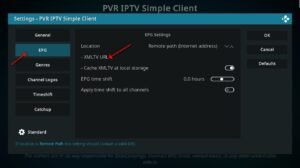
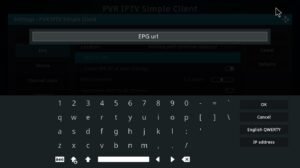
Step 11: Now paste your EPG URL and click “OK“.
You can get EPG url from your IPTV provider.
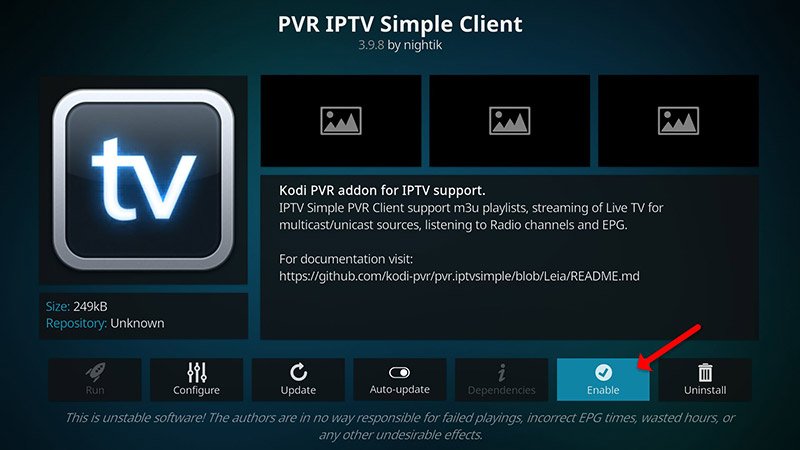
Step 12: Click on “Enable“.
Note: Upon enabling the add-on, the button will change to “Disable,” indicating that the add-on is already enabled. Therefore, refrain from clicking on “Disable” again.
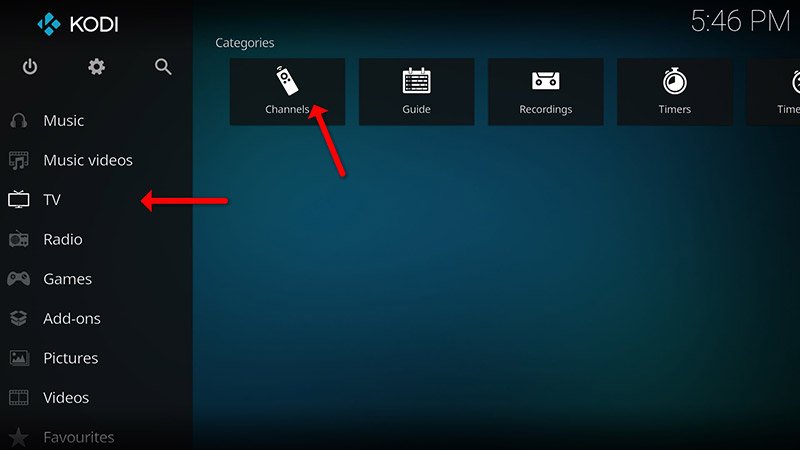
Step 13: Head back to “TV” and click on “Channels“.
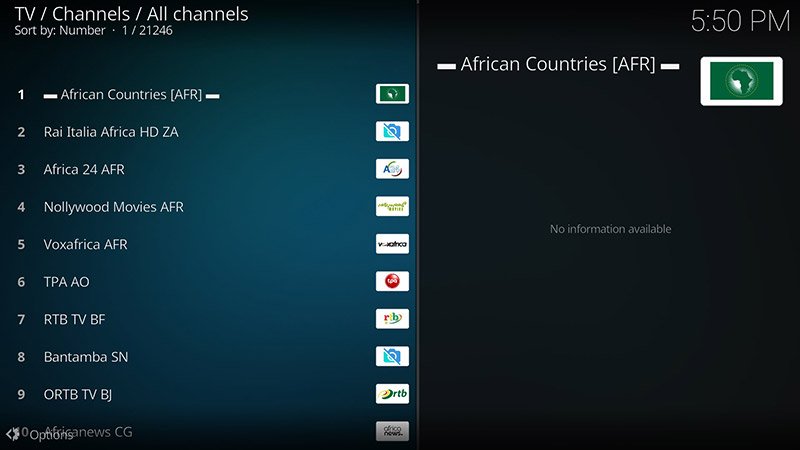
Step 14: Wait until you see the notification about updating channels and the installation process is over.
Well done, you have IPTV channels now.
Conclusion:
Kodi possesses the capability to seamlessly play a wide array of media content, offering extensive customization options. Users have the flexibility to personalize the color scheme and user interface skin according to their preferences. Furthermore, the availability of numerous add-ons enhances the entertainment experience, making it even more remarkable.
Should you require any additional assistance, please feel free to ask your questions in the comments section.
No credit card required • Instant activation